Got Home? We’ve Got an Exterior Paint Process For It
The Bay Area sings in a chorus of varied genres of architecture. From Eichlers and Craftsman Bungalows to ornate Victorians, robust Colonials, and magical Storybook houses, each genre is unique. What makes a style remarkable is in part how it features a specific set of materials. Arana views any home we are invited to work with as a treasure. We combine artistry with craftsman utility to not only beautify but also to protect the home for the long term.
While many houses in the Bay Area are around 70-to-100 years old or more, that timeline is nothing compared to the thousands of years that castles built in Europe have stood. Coming in somewhere between that kind of longevity and what is available to us if we are thoughtful and caring with the tools and materials available to us today, we present this article describing how we handle the types of exteriors that make up the majority of homes of The Peoples of the Bay Area: Stucco, Shingle, Siding, and Brick.
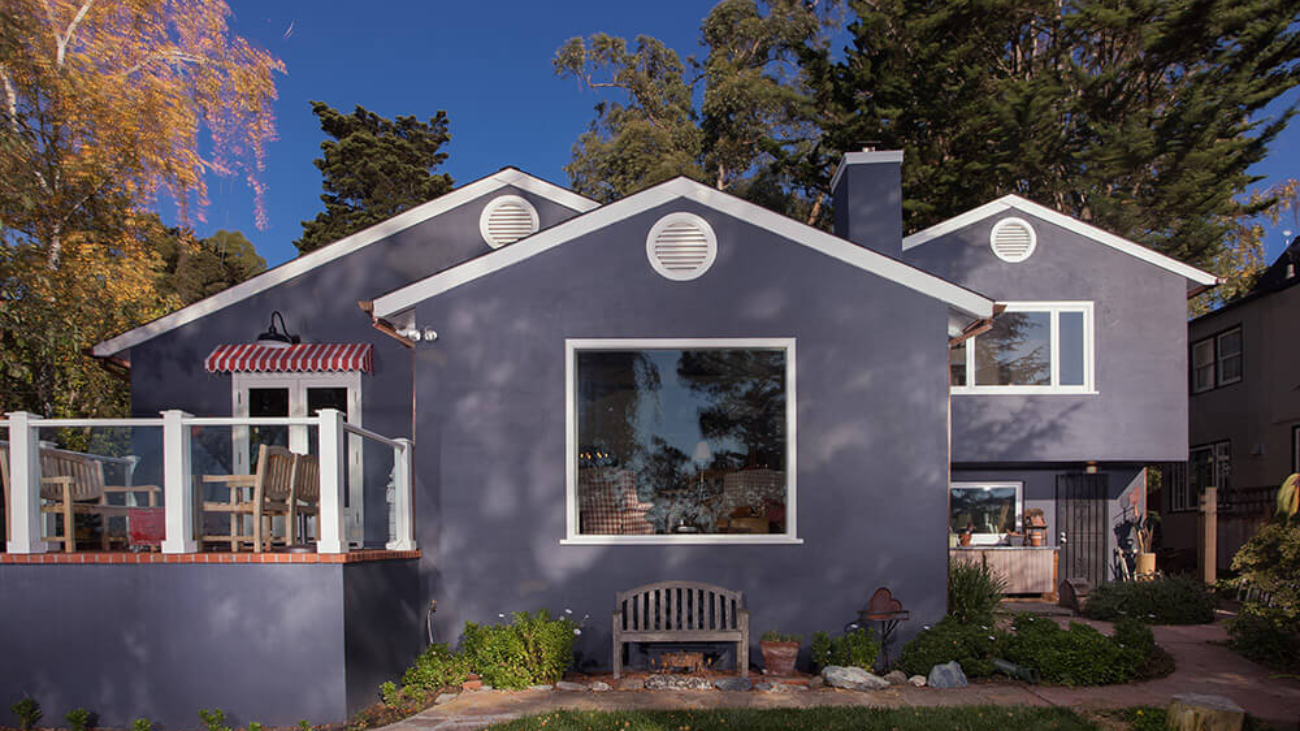
STUCCO: This home exterior material is a personal favorite of mine because it is infinitely easy to maintain — which makes it more environmentally friendly as well, in our opinion. We see in the industry a rise in the use of “sustainable” products, but if these are not also long-lasting, and must be replaced 2-to-3 times more often, then to us, that product may not in fact good for the environment. Stucco (as long as it is applied to a home NOT built on a hill near an earthquake fault) can go 10-to-20 years without needing new paint. As long as there are no cracks left unsealed, you don’t have to do much to it. Open cracks can let water in and that allows rot to develop underneath. The downside of stucco is that a whole wall of your home might be rotting away inside the stucco and you might not know about it.
Our process for maintaining, restoring, and beautifying stucco: We scrape and sand any peeling paint. For any cracks, we open them up, check for water damage underneath, and re-patch them. We spot prime and only if necessary, fully prime the whole house. If your house has a pre-colored stucco that is being painted for the first time, we can expect that a lot of primer will be needed, as unpainted stucco gets “thirsty,” drying out as it ages.
Let’s talk about elastomeric (“terpolymer” paint) on stucco: While we understand that it has some desirable qualities, as it is useful for waterproofing or bridging small cracks, it is only effective under the right conditions. If your stucco is in bad shape, and/or if you already have years of paint build-up, elastomeric is not the right choice. It cannot replace necessary repairs and upkeep. And please do not rely on elastomeric to solve all of your waterproofing problems! Elastomeric is best used on new stucco. If used on previously painted stucco, it is important not to over-apply it; results may vary depending on the texture of the stucco. Our advice is to research very carefully before you choose this product.
SHINGLES: Cedar shingles are not the most common material, but you will see them on homes across the Bay Area. Cedar is an amazing and versatile wood product, but it can become susceptible to breakdown in a shingle format. Varying approaches may be taken on how to treat them.
New shingles: Some homeowners choose to let the shingles stay raw and cure in the sun, causing them to turn gray. While this is a viable approach, we recommend at least that you have a clear sealer with a UV protectant applied to will help to protect the shingles from sun damage over the long term. This coating should be reapplied about every 5 years.
Cedar shingles that have been coated with a semi-transparent stain product: Over time, stained shingles develop tannin spots and will go grey or even totally black. To maintain a specific color and appearance we recommend using a wood brightener product that can be sprayed on and then gently scrubbed into the shingles with a stiff-bristle nylon or utility brush. Scrubbing enables the product to penetrate and remove the tannin stains as well as other types of mildew and grime.
The shingles should then be rinsed with a pressure washer (professionals-only, please). Once the shingles are nice and clean, we apply our favorite stain product: Messmers. Whether clear or one of their stock colors, we highly recommend Messmers as it results in a beautiful and long-lasting finish. NOTE: It is best to hold off on repainting the painted-wood elements around the shingles until after this process is completed, as any accidental contact from the wood-brightener product can mar a newly painted surface.
Cedar shingles that have been coated with a semi-solid or solid stain product: These types of stain products can partially or fully obscure the grain pattern of the wood. These products are used to achieve a color rather than enabling a proper marriage between color and wood grain. Any stain will fade over time, but with these types of products, you may also see peeling, flaking, or scratches — that become unsightly more than anything. Again, cedar is a hardy wood that will not rot, but in a shingle format, it does tend to break down slowly over time. A good general pressure wash of semi- or solid-stained shingles and a reapplication of the stain product in a one- or two-coat process should suffice, depending on the original product used and the condition of the wood.
Painted Shingles: Yes, this is a thing and we consider it almost a last resort, or if you simply must have a fully painted shingle home. If you don’t already have painted shingles, don’t do it. The amount of maintenance painting shingles can create is unpredictable, with each shingle potentially becoming a peeling-paint mess. To prepare and repaint this type of home, we would use the same process for painted shingles as for siding (see below). Another option is to replace your cedar shingles with HardieShingle® siding which is a fiber-cement product that is gaining in popularity.
SIDING: There are different varieties of siding your home can be built with. The original redwood of the SF Bay Area, cedar, pine or Douglas fir, or vinyl, or HardiePlank® Lap Siding which is a fiber-cement product that we are seeing on newly-constructed homes. HardiePlank is a pre-colored product that can later be painted when you are ready for a change.
Our process for painted siding, as with any painted surface: Scrape and sand any loose or peeling material. On wood surfaces, rot may need to be repaired or replaced. Repairs on damage to wood siding can only be done on areas that are no bigger than 4” x 4”. For these, we scrape out the rotted wood, apply a liquid that kills the dry rot organism, and then apply a two-part resin product that fills in the gap. We then apply a full coat of primer to those repairs and to the whole exterior of the home as needed. Next, we go over the entire surface area to inspect and caulk open gaps, in order to create a paintable surface.
BRICK: Brick homes are rarer in earthquake-prone California, but they are here, and we do work on them. Oftentimes bricks can absorb dirt and accumulate mold and mildew which can make them look drab. We recommend a careful pressure wash and scrub to brighten the bricks. Like any concrete or stone product, brick can erode over time and lose its shape. We recommend a clear sealer to prevent this. One that we use is Drylock. If you are going to go DIY with this product, please be sure to get it in a flat finish because shiny is no bueno on bricks!